
티스토리 뷰
Istio
Istio extends Kubernetes to establish a programmable, application-aware network using the powerful Envoy service proxy. Working with both Kubernetes and traditional workloads, Istio brings standard, universal traffic management, telemetry, and security to complex deployments.
istio는 service mesh를 구성하기 위한 오픈소스이며, envoy proxy를 통해 Traffic을 제어하고 보안(tls, mtls), Telemetry등 관심사를 Application Layer와 분리한다.
Before utilizing Istio
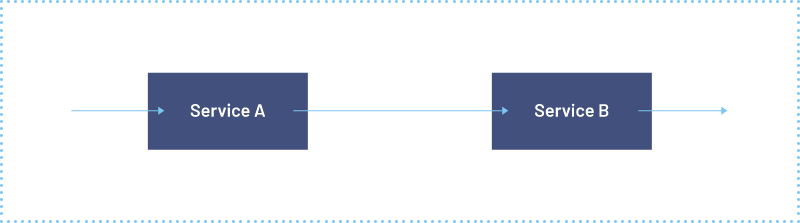
After utilizing Istio

Environment
- default: enables components according to the default settings of the
[IstioOperatorAPI](https://istio.io/latest/docs/reference/config/istio.operator.v1alpha1/). This profile is recommended for production deployments and for primary clusters in a multicluster mesh. You can display the default settings by running theistioctl profile dumpcommand. - demo: configuration designed to showcase Istio functionality with modest resource requirements. It is suitable to run the Bookinfo application and associated tasks. This is the configuration that is installed with the quick start instructions.
- This profile enables high levels of tracing and access logging so it is not suitable for performance tests.
- minimal: same as the default profile, but only the control plane components are installed. This allows you to configure the control plane and data plane components (e.g., gateways) using separate profiles.
- external: used for configuring a remote cluster that is managed by an external control plane or by a control plane in a primary cluster of a multicluster mesh.
- empty: deploys nothing. This can be useful as a base profile for custom configuration.
- preview: the preview profile contains features that are experimental. This is intended to explore new features coming to Istio. Stability, security, and performance are not guaranteed - use at your own risk.

Bookinfo Installation Guide
https://istio.io/latest/docs/examples/bookinfo/

Istioctl Installation Guide
$ curl -L https://istio.io/downloadIstio | sh -
$ cd istio-1.14.3
$ chmod +x ./bin/istioctl
$ sudo mv ./bin/istioctl /usr/local/bin
$ istioctl install --set profile=demo -y
✔ Istio core installed
✔ Istiod installed
✔ Ingress gateways installed
✔ Egress gateways installed
✔ Installation completeTraffic Management
istio에서 각각의 마이크로서비스간 네트워크 통신의 Traffic Management를 하기 위해 Envoy Proxy를 사이드카 패턴으로 사용한다.

Labeling
$ kubectl label namespace default istio-injection=enabled

$ kubectl get ns default --show-labels
NAME      STATUS   AGE    LABELS
default   Active   218d   istio-injection=enabled,kubernetes.io/metadata.name=default
Installing bookinfo
$ kubectl apply -f samples/bookinfo/platform/kube/bookinfo.yaml
$ kubectl get services
$ kubectl get pods
$ kubectl exec "$(kubectl get pod -l app=ratings -o jsonpath='{.items[0].metadata.name}')" -c ratings -- curl -sS productpage:9080/productpage | grep -o "<title>.*</title>"
export INGRESS_PORT=$(kubectl -n istio-system get service istio-ingressgateway -o jsonpath='{.spec.ports[?(@.name=="http2")].nodePort}')
export SECURE_INGRESS_PORT=$(kubectl -n istio-system get service istio-ingressgateway -o jsonpath='{.spec.ports[?(@.name=="https")].nodePort}')
export INGRESS_HOST=$(kubectl get po -l istio=ingressgateway -n istio-system -o jsonpath='{.items[0].status.hostIP}')
export GATEWAY_URL=$INGRESS_HOST:$INGRESS_PORTIngress Gateway
$ kubectl get svc istio-ingressgateway -n istio-system

NAME                   TYPE           CLUSTER-IP      EXTERNAL-IP                                                                   PORT(S)                                                                      AGE
istio-ingressgateway   LoadBalancer   10.100.205.44   aadb986dbd8c24718aa6d0f25f1f6c43-470554267.ap-northeast-2.elb.amazonaws.com   15021:30610/TCP,80:30356/TCP,443:31320/TCP,31400:32231/TCP,15443:31437/TCP   5d20h
http://aadb986dbd8c24718aa6d0f25f1f6c43-470554267.ap-northeast-2.elb.amazonaws.com/productpage

kiali dashboard
$ kubectl apply -f samples/addons/kiali.yaml
$ kubectl apply -f samples/addons/prometheus.yaml
$ kubectl apply -f samples/addons/grafana.yaml
$ kubectl apply -f samples/addons/jaeger.yaml
Dashboard
Grafana
$ istioctl dashboard grafanaPrometheus
$ istioctl dashboard prometheusKiali
$ kubectl port-forward svc/kiali 20001:20001 -n istio-system

or

$ istioctl dashboard kiali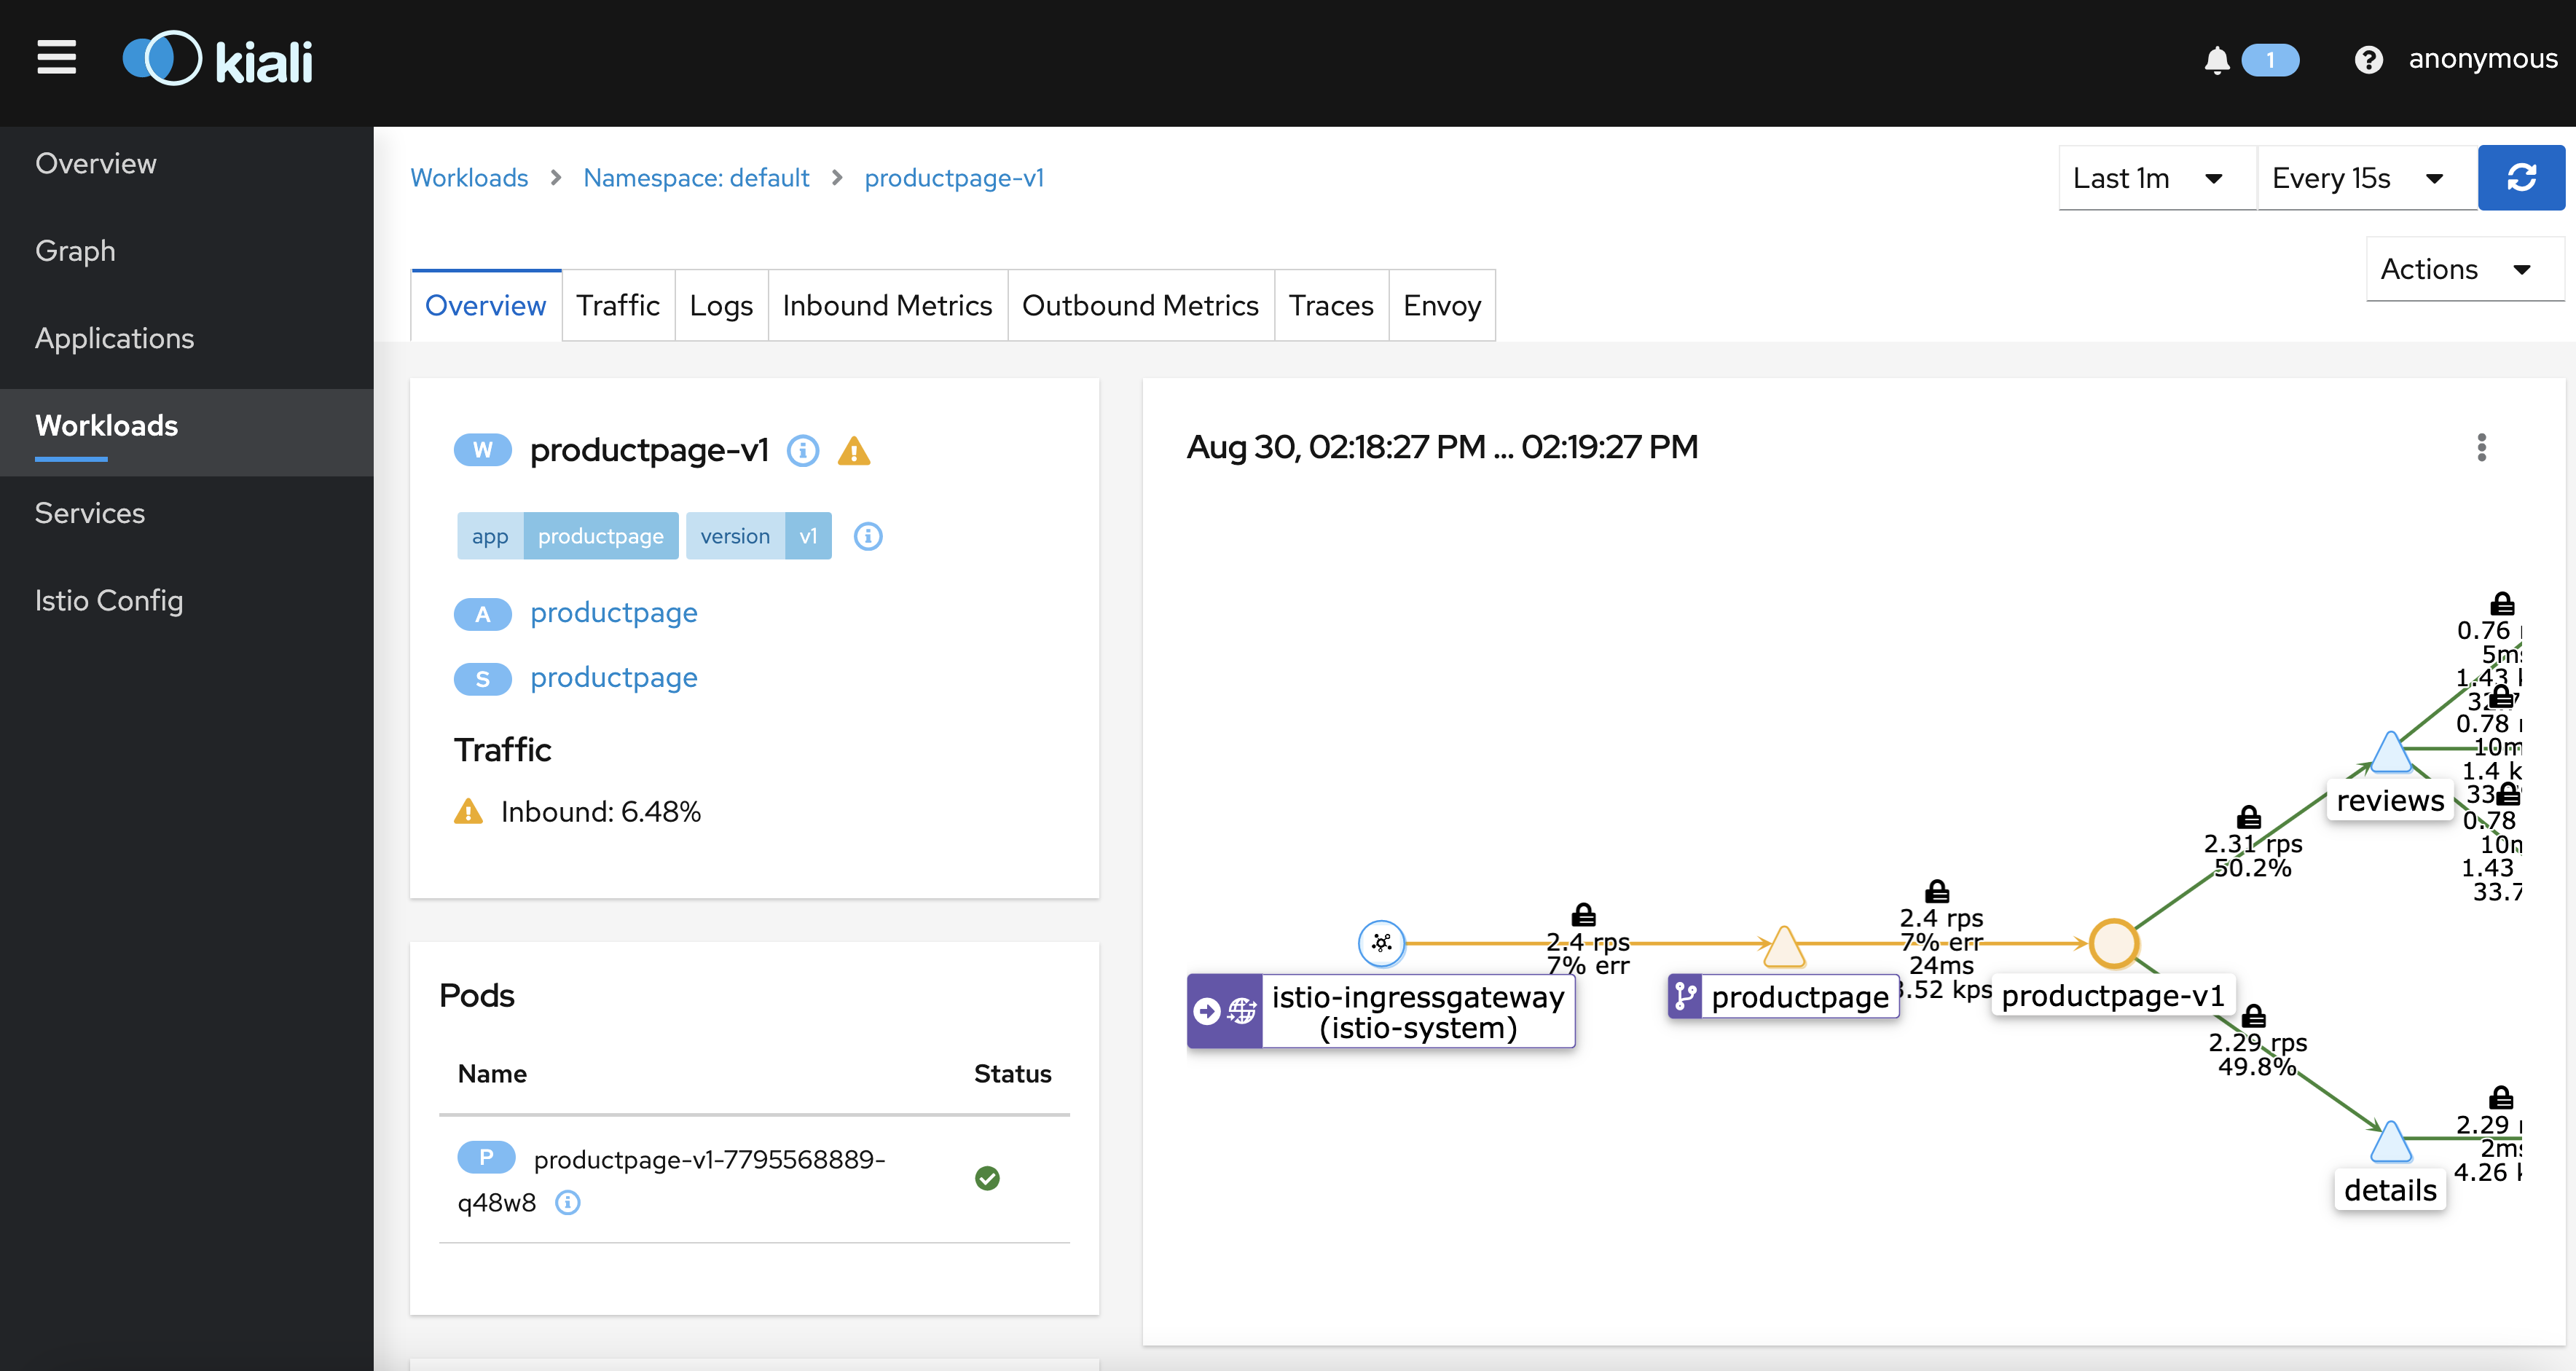
Circuit Breaker
$ kubectl apply -f [samples/httpbin/httpbin.yaml](https://raw.githubusercontent.com/istio/istio/release-1.14/samples/httpbin/httpbin.yaml)Circuit Breaker를 테스트하기 위해 http1MaxPendingRequests, maxRequestsPerConnection 값을 최소값으로 설정한다. (Connection Pool을 1개로 설정하여 Concurrency Level 2로 테스트 할 경우 Circuit Breaker 작동)
$ kubectl apply -f - <<EOF
apiVersion: networking.istio.io/v1alpha3
kind: DestinationRule
metadata:
  name: httpbin
spec:
  host: httpbin
  trafficPolicy:
    connectionPool:
      tcp:
        maxConnections: 1
      http:
        http1MaxPendingRequests: 1
        maxRequestsPerConnection: 1
    outlierDetection:
      consecutive5xxErrors: 1
      interval: 1s
      baseEjectionTime: 3m
      maxEjectionPercent: 100
EOF
Adding a client
$ kubectl apply -f samples/httpbin/sample-client/fortio-deploy.yaml$ export FORTIO_POD=$(kubectl get pods -l app=fortio -o 'jsonpath={.items[0].metadata.name}')
$ kubectl exec "$FORTIO_POD" -c fortio -- /usr/bin/fortio curl -quiet http://httpbin:8000/getLoad Test
1개의 concurrency level로 10개의 Request 요청 시
kubectl exec "$FORTIO_POD" -c fortio -- /usr/bin/fortio load -c 1 -qps 0 -n 10 -loglevel Warning http://httpbin:8000/get
2개의 Concurrency Level로 20개의 Request 요청 시
kubectl exec "$FORTIO_POD" -c fortio -- /usr/bin/fortio load -c 2 -qps 0 -n 20 -loglevel Warning http://httpbin:8000/get
Traffic Shifting
Traffic Shifting을 통해 Canary배포 및 Blue-Green전략을 적용할 수 있다.
virtualservice.yaml
apiVersion: networking.istio.io/v1alpha3
kind: VirtualService
metadata:
  name: vs-app
spec:
  hosts:
  - "vs-app.dev.svc.cluster.local"
  http:
  - route:
    - destination:
        host: "app.dev.svc.cluster.local"
        subset: stable
      weight: 90
    - destination:
        host: "app.dev.svc.cluster.local"
        subset: canary
      weight: 10
destinationrule.yaml
apiVersion: networking.istio.io/v1alpha3
kind: DestinationRule
metadata:
  name: dr-app
spec:
  host: app.dev.svc.cluster.local
  subsets:
  - name: stable
    labels:
      version: stable
  - name: canary
    labels:
      version: canary
Argo Rollout을 통한 Traffic Shifting 연계
rollout.yaml
istio:
  virtualService:
    name: vs-app        # required
    routes:
    - primary                 # optional if there is a single route in VirtualService, required otherwise
  destinationRule:
    name: rollout-destrule    # required
    canarySubsetName: canary  # required
    stableSubsetName: stable  # required
Fault Injection
Fault Injection 테스트도 손쉽게 할 수 있다.
virtualservice.yaml
apiVersion: networking.istio.io/v1alpha3
kind: VirtualService
metadata:
  name: vs-hello
spec:
  hosts:
  - "svc-hello.dev.svc.cluster.local"
  http:
  - fault:
      abort:
        httpStatus: 500
        percentage:
          value: 50
    route:
      - destination:
          host: "svc-hello.dev.svc.cluster.local"
          subset: v1
        weight: 90
      - destination:
          host: "svc-hello.dev.svc.cluster.local"
          subset: v2
        weight: 10
Requests for fault injection
$ for i in {1..5}; do kubectl exec -it httpbin -c httpbin -ndev -- curl http://svc-hello.dev.svc.cluster.local:8080; sleep 0.1; done
Hello server - v1
Hello server - v2
fault filter abort
Hello server - v1
Hello server - v1
Installing a Istio Operator
$ istioctl operator init --tag 1.7.5$ kubectl apply -f - <<EOF
apiVersion: install.istio.io/v1alpha1
kind: IstioOperator
metadata:
namespace: istio-system
name: istiocontrolplane
spec:
addonComponents: #add on component
grafana: # 시계열 데이터 시각화
enabled: true
kiali: # 트래픽 시각화
enabled: true
prometheus: # 정보 수집
enabled: true
tracing: # 트래픽 흐름 추적가능
enabled: true
components:
ingressGateways:
- name: istio-ingressgateway #기본게이트웨이
enabled: true
profile: default
values:
kiali:
dashboard:
auth:
strategy: anonymous # kiali 로그인없이 접속가능
EOFReferences
'Developer' 카테고리의 다른 글
| Sizing Pods for JVM (1) | 2022.12.26 |
|---|---|
| How to use KEDA (0) | 2022.10.25 |
| Component Tests with Spring Application (0) | 2022.08.11 |
| Kubernetes Liveness & Readiness Probe with Spring boot (0) | 2022.07.26 |
| Configure AWS Credentials For GitHub Actions with OIDC (0) | 2022.06.05 |
- Total
- Today
- Yesterday
- 베트남
- Python
- hdfs
- maven
- 비교구문
- 영문법
- Python Django
- AWS
- it
- Business English
- 가정법
- 대명사 구문
- JBOSS
- NGINX
- 다낭
- hadoop
- ubuntu
- 해외여행
- memcached
- 여행
- redis
- PostgreSQL
- 도덕경
- mongoDB
- k8s
- 영작
- 비지니스 영어
- 조동사
- nodejs
- 스페인 여행
| 일 | 월 | 화 | 수 | 목 | 금 | 토 |
|---|---|---|---|---|---|---|
| 1 | ||||||
| 2 | 3 | 4 | 5 | 6 | 7 | 8 |
| 9 | 10 | 11 | 12 | 13 | 14 | 15 |
| 16 | 17 | 18 | 19 | 20 | 21 | 22 |
| 23 | 24 | 25 | 26 | 27 | 28 | 29 |
| 30 | 31 |